
How to design your own bead pattern
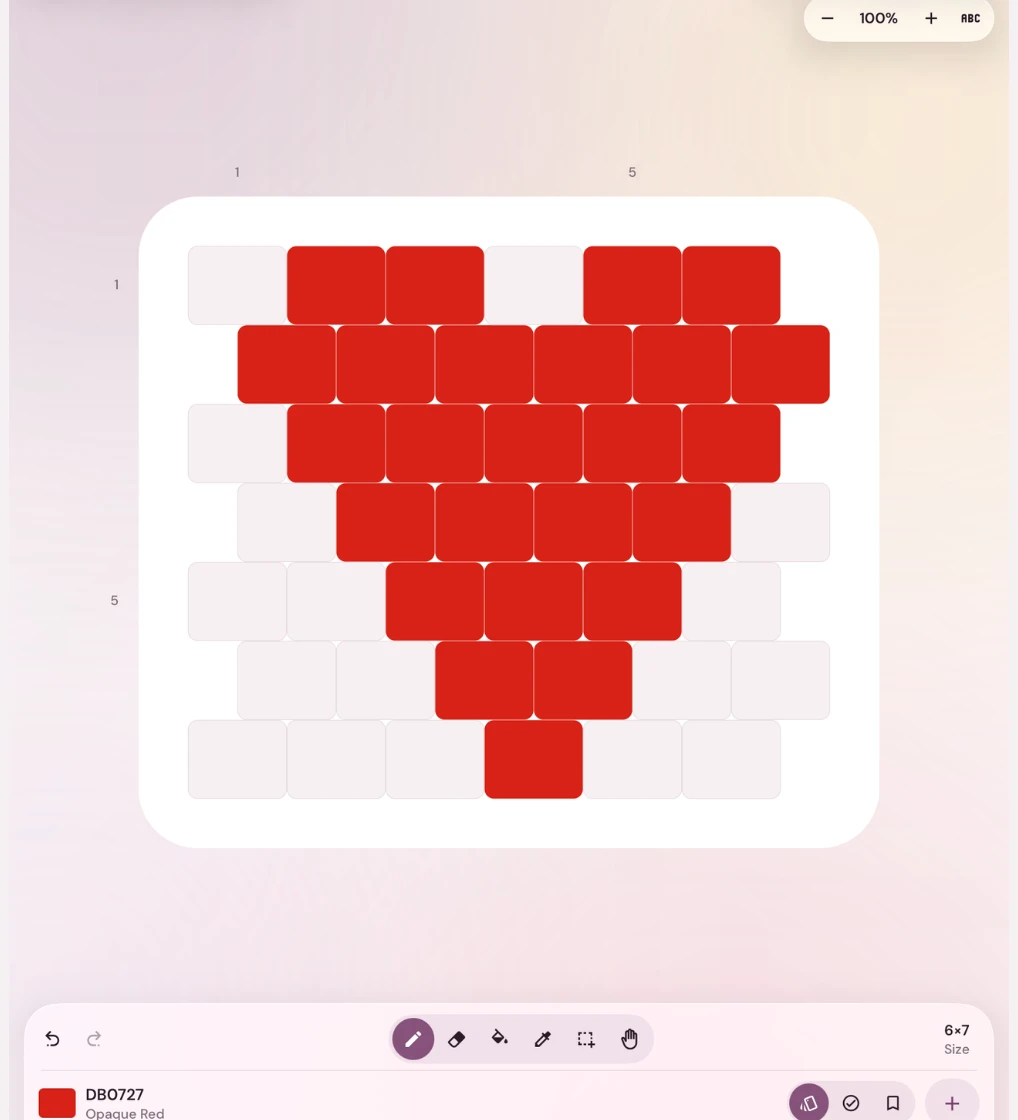
Following someone else’s pattern is how most of us start. But sooner or later you want earrings in your own colours, a bracelet with a friend’s initials, or a motif you can’t find anywhere. Designing a bead pattern is less mysterious than it looks. It is mostly about choosing the right grid and being honest about how many beads fit.
1. Choose the stitch first
The stitch decides the grid, and the grid decides what your design can look like.
- Loom and square stitch: beads sit in straight rows and columns, like pixels. Lettering and geometric shapes come out crisp. See loom beading.
- Peyote: every other column sits half a bead lower. Diagonals look smooth, but straight vertical lines get a slight zigzag. See peyote stitch.
- Brick stitch: every other row shifts half a bead to the side, which is ideal for shaped earrings that widen and narrow. See brick stitch.
- Fringe earrings: a brick stitch top with strands hanging below, so you design two parts. See fringe earrings.
- Bead crochet rope: the design wraps around a tube and repeats, so you plan one repeat and a number of beads per round. See bead crochet rope.
Drawing on a plain square grid and then beading in peyote or brick stitch is the most common reason a design “looks wrong” when finished. Always draw on the grid of the stitch you will use.
2. Decide the size in beads, not centimetres
A Delica 11/0 is about 1.6 mm wide and 1.3 mm tall. So a 2.5 cm earring is only around 15 beads wide, and a bracelet band is often 10 to 20 beads. That is not much room: a face, a letter or a flower has to be readable in very few beads. Our bead calculator converts a length into rows and beads.
Tip: draw at the real bead count from the start. Shrinking a detailed drawing down later almost never works.
3. Pick a small palette of real bead colours
Choose colours from beads you can actually buy, not from a screen colour picker. Four to six colours are plenty for most small pieces. Put a light colour next to a dark one wherever an outline needs to read, and keep one neutral background. Not sure about Delica versus round seed beads? Read Delica vs seed beads.
4. Draw, then check from a distance
Fill the big shapes first, then the outline, then the details. Step back (or zoom out) often: at arm’s length, does it still read? One bead out of place in a 15-bead-wide earring is very visible, so check symmetry carefully.
5. Make a chart you can follow
Before you bead, you need three things: a colour chart, a list of beads per colour, and ideally a word chart that reads the pattern row by row. Our guide to reading a bead pattern explains each one.
Doing all of this in the ShineBead app
We built the ShineBead app because we were doing these steps by hand for our own patterns. In the app you:
- pick a stitch (loom, peyote, brick stitch, fringe earrings or bead crochet rope) and a size, from presets like bracelet, cuff, earring or tassel, or your own width and rows;
- paint with the full Miyuki Delica 11/0 range, each colour with its DB code, and save the beads you own as your own palette;
- draw, fill, pick a colour from the design, or select a motif to copy, flip and rotate;
- see the finished piece in a 3D preview before you string a bead;
- export a PDF with a colour chart, a lettered chart, row-by-row instructions and the bead list with counts.
It’s free to start on iPhone, iPad and Android. A free account keeps up to 3 designs and gives you 5 PDF or image exports, and you can sign in with it on the web too. Have a look at the bead pattern maker, or start from one of our free patterns and change the colours to make it your own.
And if you’d rather start from a finished design, our pattern shop has over 70 tested patterns for earrings, ropes and bracelets.